First steps
Note: These features are part of the Visforms Subscription and are not included in the free Visforms version.
For a better understanding, we recommend reading the documentation completely and using the
Section Introduction
to start.
Relationships explained in earlier sections of the documentation are not repeated here.
Activate plugins in the plugin manager
Note: Please make sure you have installed your Visforms Subscription.
You must activate the plugin in the Plugin Manager before you can use its features.
To do this, go to the “System” menu entry in the administration of your Joomla installation and then to the “Plugins” entry on the “Manage” tile.
Find the plugin entry with the name Visforms - Web interfaces - Form and Visforms - Web interfaces - Field.
Note: To do this, use the search filter above the plugin list.
The plugin is activated when you see a green check mark in the status column.
It is deactivated when there is a gray circle with a white X in this place.
In this case, click once on the gray circle to activate the plugin.
Settings in the form and in the form field
The plugins were developed in such a way that you can configure the data connections for each form and each form field individually:
- All basic Data connection settings are made in the form configuration.
In particular, the activation of the data connection, which starts the data transfer after the form transfer. - All field-specific data connection settings are made in the field configuration.
Depending on the type of data connection configuration in the form configuration, no further settings in the field configuration may be necessary.
Settings in the form configuration
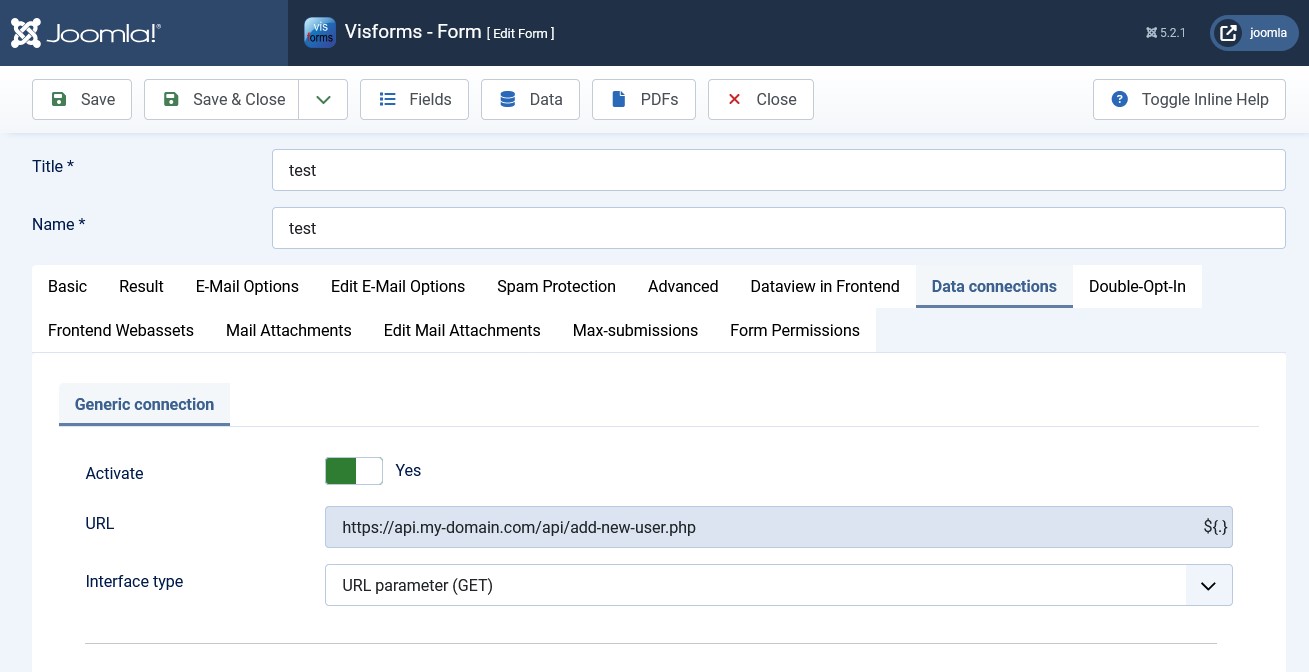
For this purpose, the plugin Visforms - Web interfaces - Form creates the new tab Data connections in the form configuration.
The Data connections tab has a sub-tab for each supported type of data connection, such as Generic connection.
In the administration of your website, go to Components » Visforms and open the edit view for the form for which you want to create a data connection.
There, click on the Data connection tab and then on one of the sub-tabs that matches the desired data connection, for example Generic connection.

Settings in the field configuration
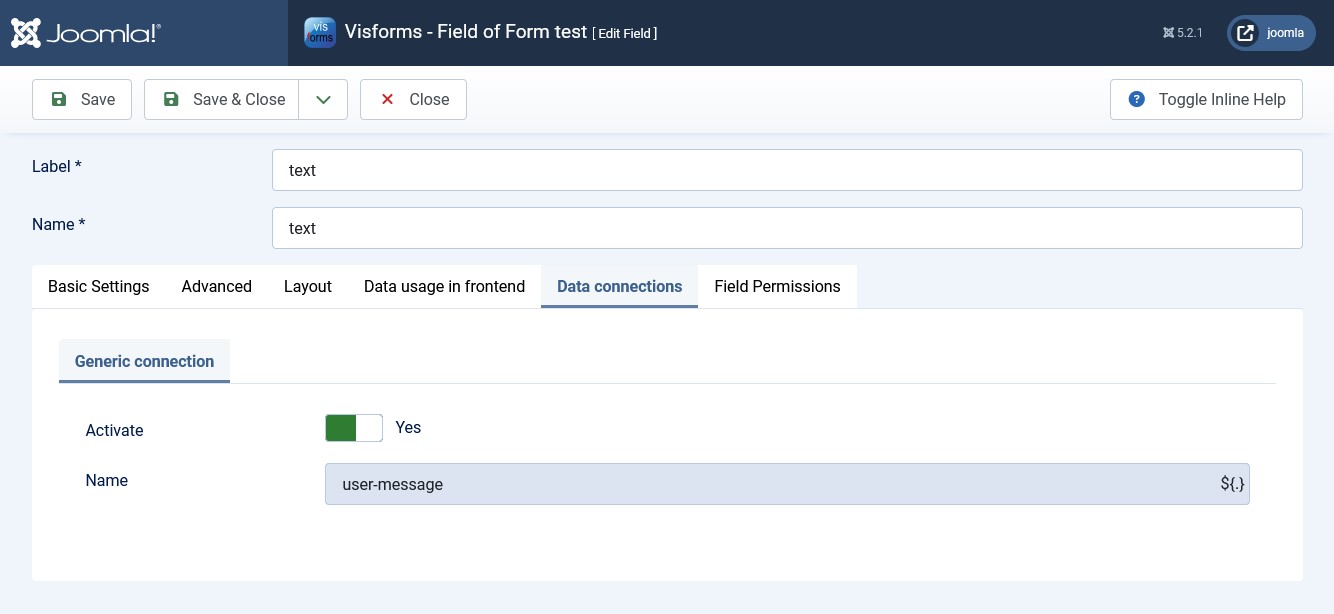
For this purpose, the plugin Visforms - Web interfaces - Field creates the new Data connections tab in the field configuration.
The Data connections tab has a sub-tab for each supported type of data connection, for example Generic connection.
In the administration of your website, go to Components » Visforms and open the edit view for the field that you want to integrate into a data connection.
There, click on the Data connection tab and then on one of the sub-tabs that matches the desired data connection, such as Generic connection.
